14 Methods to Fix DNS_PROBE_FINISHED_NXDOMAIN Error on Your Device
While searching for your query over the internet, several issues cause browsers to be unable to redirect their users to desired pages. Out of all these, one of the most common and bothersome issues is the DNS_PROBE_FINISHED_NXDOMAIN error. This notification displays when the search engine is unable to locate your searched URL.
Even manually refreshing or using a Chromebook auto-clicker to refresh the page doesn’t resolve this issue. You have to search for its root cause and resolve the issue. Thus, in this article, we have mentioned all the potential causes of the DNS_PROBE_FINISHED_NXDOMAIN error with their effective solutions.
What is DNS_PROBE_FINISHED_NXDOMAIN?
Before delving into the DNS_PROBE_FINISHED_NXDOMAIN error, you need to understand what DNS is. DNS stands for Domain Name System, which is a naming database that translates domain names into IP addresses, allowing browsers to deliver the resources of the respective searched websites.
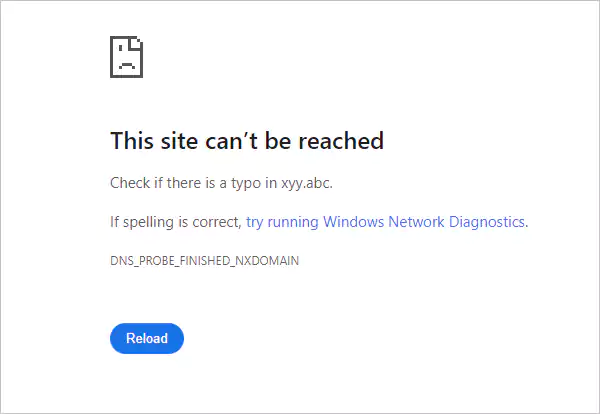
The DNS_PROBE_FINISHED_NXDOMAIN is a common error users face while searching for any domain on browsers. Some users might not have noticed this code but would have remembered its interface. This error is displayed when the DNS cannot translate the domain name into an IP address due to several issues.
Reasons for DNS_PROBE_FINISHED_NXDOMAIN
Here are the reasons why browsers display the DNS_PROBE_FINISHED_NXDOMAIN error:
- Typographical Error: The DNS_PROBE_FINISHED_NXDOMAIN could be displayed due to a misspelled URL on Google search. This leads to DNS being unable to locate the domain’s actual IP address.
- DNS Misconfiguration: This error could also result from a misconfiguration in your computer’s DNS settings.
- Access Restricted: If access to the searched domain is restricted due to reasons like malicious content, piracy, and restricted content, browsers show the DNS_PROBE_FINISHED_NXDOMAIN error.
- Domain’s Issue: This error also occurs when you search for an unregistered or expired domain. To resolve it, consider renewing the domain with the top web hosting providers.
- Internet Problem: Maybe your ISP (Internet Service Provider) has blocked access to the domain, resulting in this error.
- Others: Using antivirus software, VPN, or firewall can also restrict the access of users to certain websites.
How to Fix the DNS_PROBE_FINISHED_NXDOMAIN on Android and iOS?
The following are the steps to fix the DNS_PROBE_FINISHED_NXDOMAIN error on Android and iOS devices.
1. Restart Your Device
The first and foremost step to resolve the DNS_PROBE_FINISHED_NXDOMAIN should be restarting your mobile device. It will simply reboot the system and fix the files causing this error.
iOS:
- Press and hold the power button with any of the volume keys until the slider pops up on the screen.
- Swipe the slider towards the right and wait for the device to completely turn off.
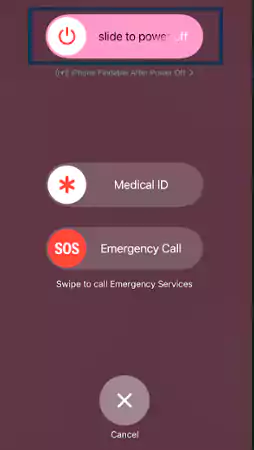
- Once your iPhone is switched off, press and hold the power button to switch it on again.
Android:
- Press and hold the power button until the power off and restart options pops up.
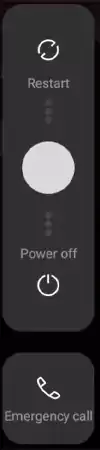
- Tap on the Restart option and wait for your device to turn on.
2. Set Private DNS Configuration
The DNS server of your devices is automatically assigned by your Internet Service Provider (ISP). But these can also be changed as per the preference of the user. Users just need to make a few changes in their device settings.
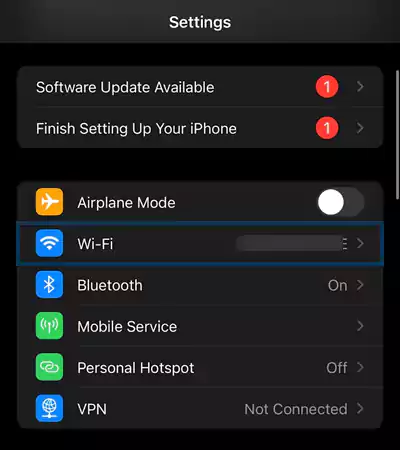
iOS:
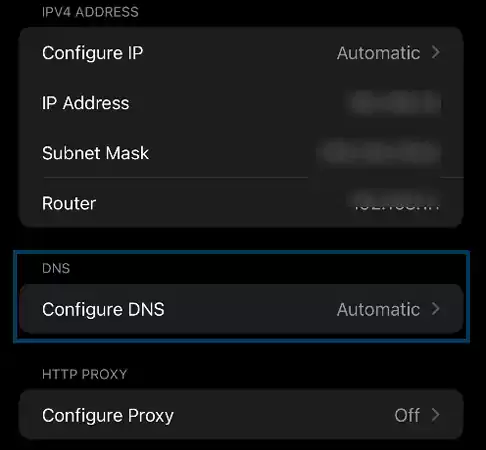
- Navigate Wi-Fi in Settings and tap on the network.
- Click on Configure DNS, followed by choosing Manual to add a new DNS.
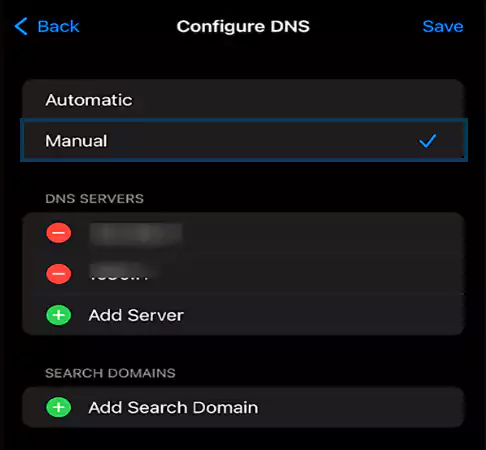
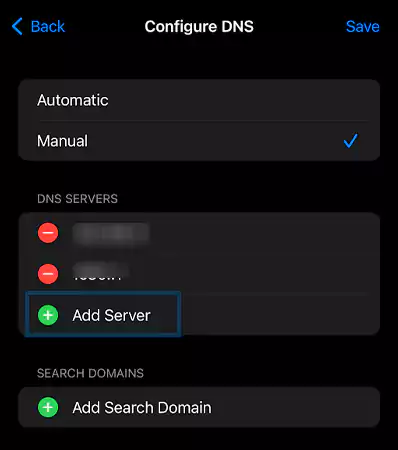
- Select Add a server and add these configurations.
- 8.8.8.8
- 8.8.4.4
- 2001:4860:4860::8888
- 2001:4860:4860::8844
Android:
- Due to the variety of settings interfaces in Android, we suggest simply searching DNS on the search option of settings.
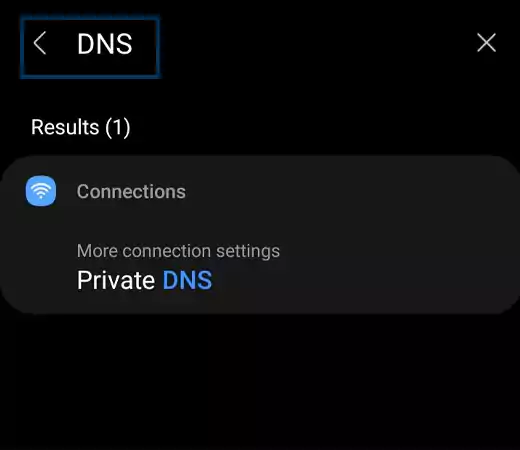
- Tap the Private DNS option, followed by turning on Private DNS by setting a Private DNS provider.
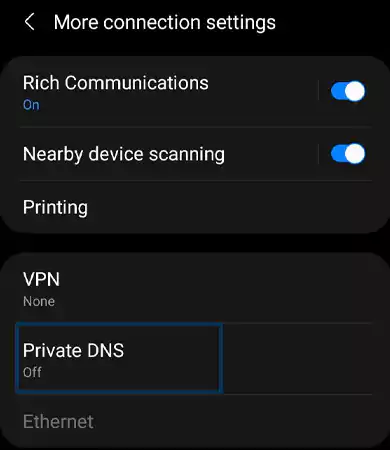
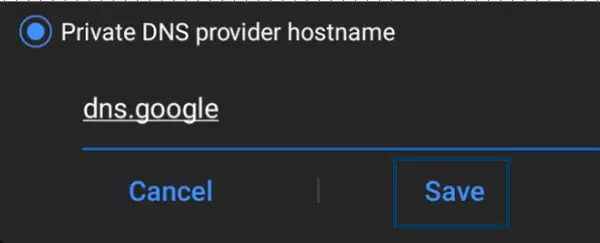
- Now, if your device supports DNS code, add “8.8.8.8”. But if it doesn’t, add “dns.google”.
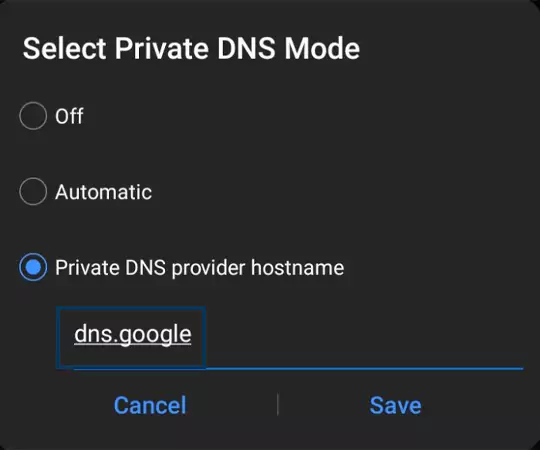
- After entering the DNS code or hostname, tap save.
3. Check for System Updates
Using an outdated version of your operating system can also cause the DNS_PROBE_FINISHED_NXDOMAIN error. Make sure to use the latest version of the operating system on your mobile system. Follow these steps to update your device’s operating system.
iOS:
- Open Settings on your device and navigate Software Update in General.
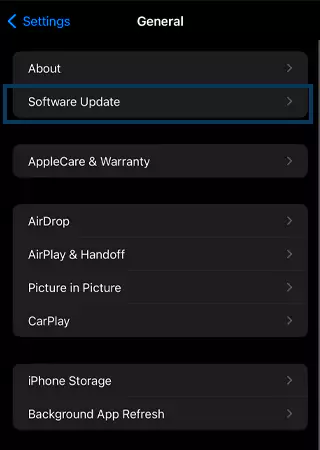
- See if there is an update available or not. Tap on the Update Now/ Update Tonight option if you see a pending update.
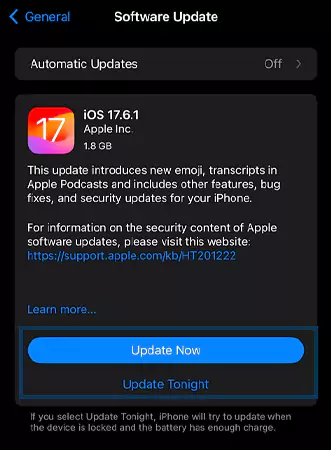
- Once the download is completed, tap Install and wait for your device to restart.
Android:
- For Android, simply search either Software Updates or System Updates in the search bar.
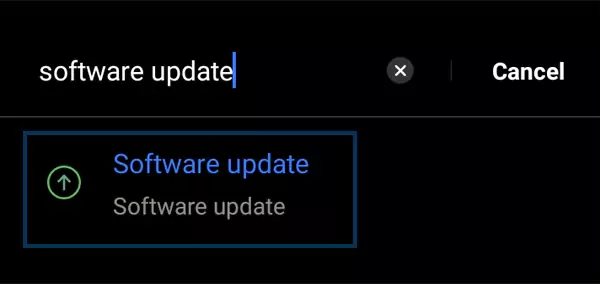
- After getting into the update panel of your device, tap on the Check For Updates option.
- If an update is available, tap on the download option and install the update.
4. Clear Cache Data of Browser
Cache data of an application makes the application load faster, but there are times when not clearing cache files for a longer time leads to corrupting files. These corrupted files can cause issues like the DNS_PROBE_FINISHED_NXDOMAIN error. Hence, deleting these files can solve this issue.
iOS:
- Navigate General in your iPhone Settings.
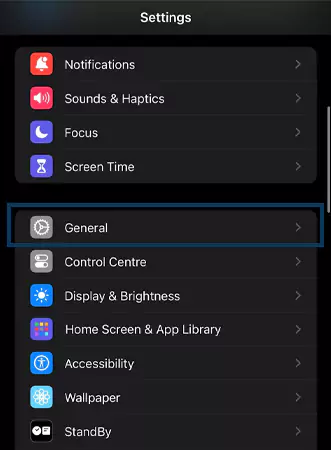
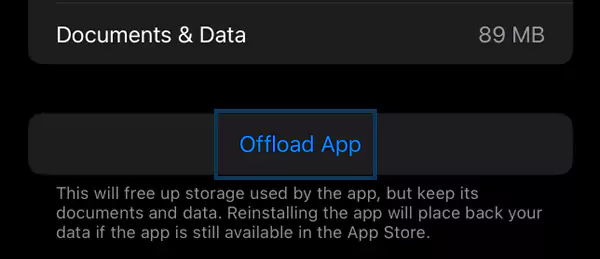
- Go to the iPhone Storage option and tap on Chrome.

- Tap on the Offload App to clear the Chrome cache and history.
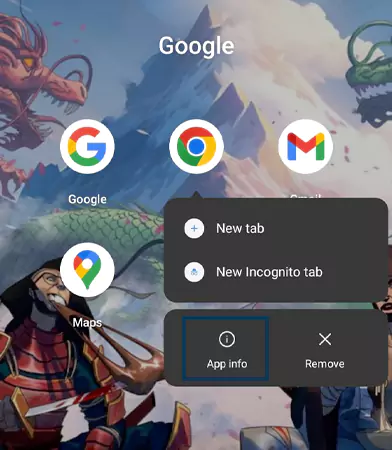
Android:
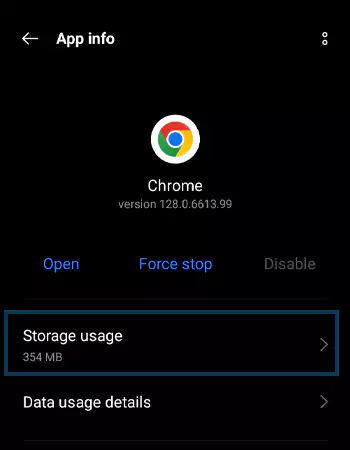
- Tap and hold Chrome and click on the App Info.
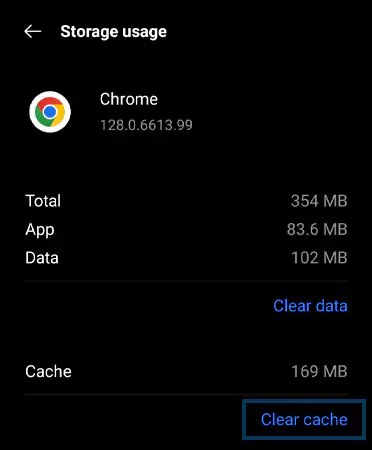
- Go to the storage usage.
- Tap on Clear Cache to delete the cache files.
5. Update your Chrome
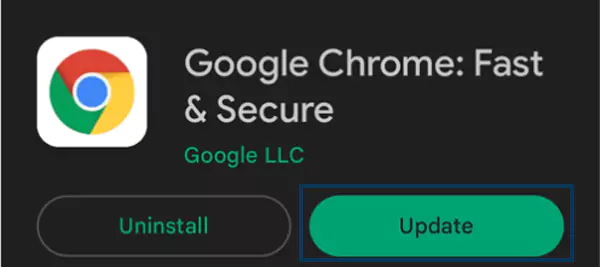
The DNS_PROBE_FINISHED_NXDOMAIN error can also be caused due to using an outdated version of the browser. If the DNS_PROBE_FINISHED_NXDOMAIN error is not solved with the aforementioned ways, you should try to update your browser with the latest version. The procedure of updating Chrome is the same in both iOS and Android.
- Open the Play Store (Android) or App Store (iOS) on your device.
- Search Chrome in the search bar.
- Tap on the update option.

6. Disable your VPN
Excessive cache data of VPN can also be a potential cause of the DNS_PROBE_FINISHED_NXDOMAIN error. This happens when you stay connected to a VPN connection for a long period. To clear your VPN cache and resolve this issue, you just simply need to disconnect or tune off your VPN.
iOS:
- Go to General in Settings.
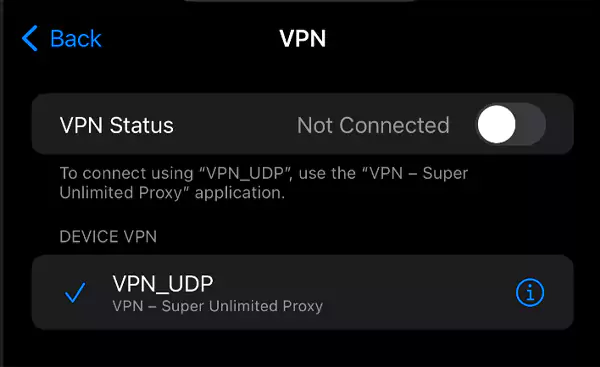
- Tap on VPN & Device Management, followed by VPN.
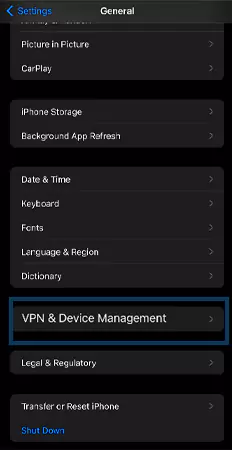
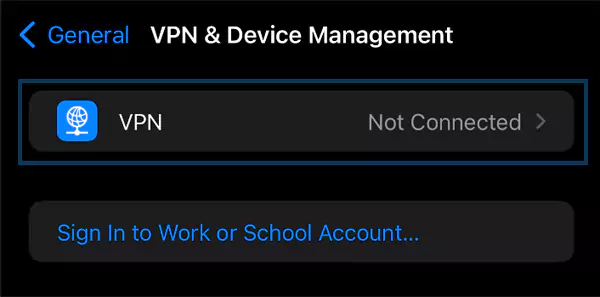
- Turn off the toggle to turn off the VPN.
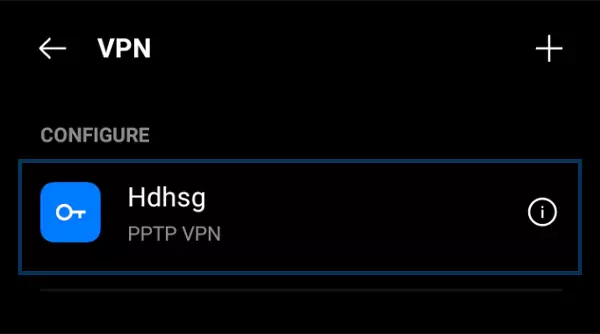
Android:
- Open Connection & Sharing in device settings.
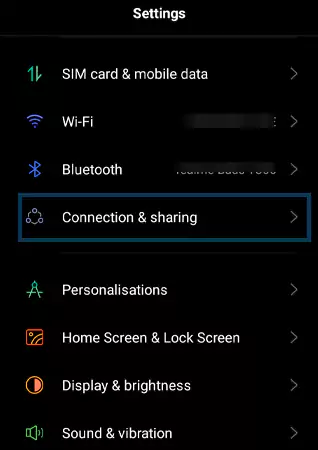
- Tap VPN.
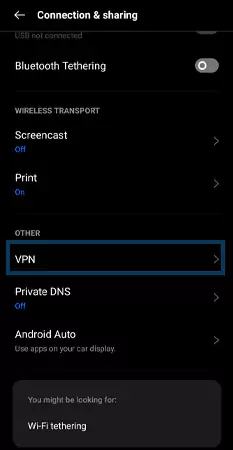
- Select the VPN you are using and toggle off.
How to Fix DNS_PROBE_FINISHED_NXDOMAIN on Desktop?
The DNS_PROBE_FINISHED_NXDOMAIN error is fixed differently on desktops. This includes making changes to DNS, host files, etc. Follow these instructions to fix this issue on your desktop.
1. Restart the Computer and Router
It might sound useless, but restarting your desktop and router can be extremely helpful. Restarting your computer clears all the files running in the background and gives your desktop a fresh start. Moreover, also try to restart the router. This will clear the temporary cache of your network.
To restart the router, follow either one of these steps:
- Press the power button on the router to turn off the power, and activate it with the same method after 5–6 minutes.
Or,
- If there is no power button on the router, unplug the adapter wire of the router and replug it again after 5–6 minutes.
2. Renew the IP address of the Computer
If restarting your computer doesn’t work, releasing and renewing your IP address can effectively solve the DNS_PROBE_FINISHED_NXDOMAIN error. Follow these instructions to release and renew your computer’s IP address.
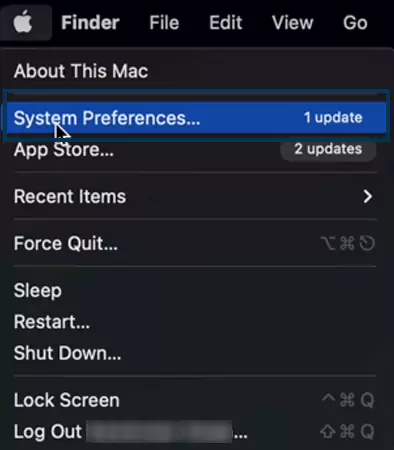
Mac:
- Right-click on the Apple logo on the navigation bar and go to system preferences.
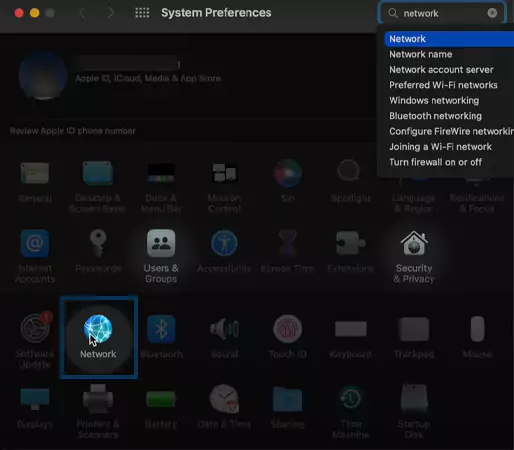
- Now go to network and open advanced settings.
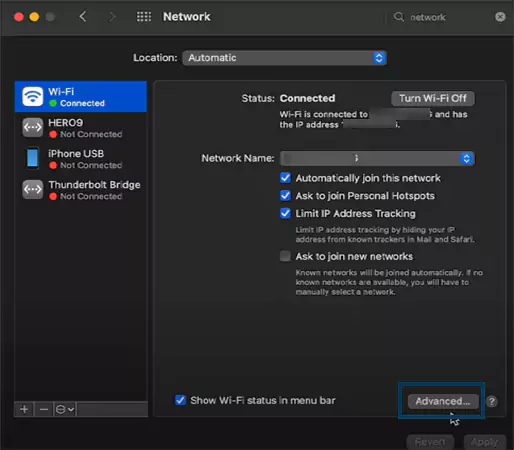
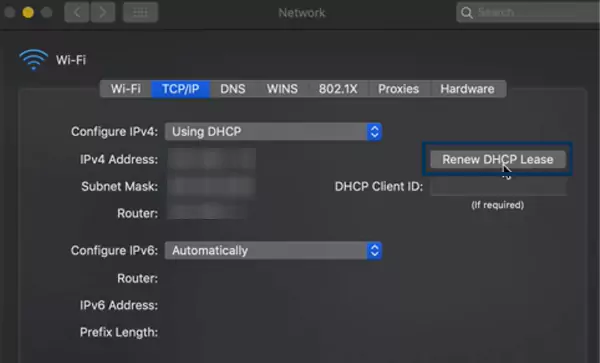
- At last, open the TCP/IP panel and click on “Renew DHCP Lease.” This will release your IP address and allot you a new one.
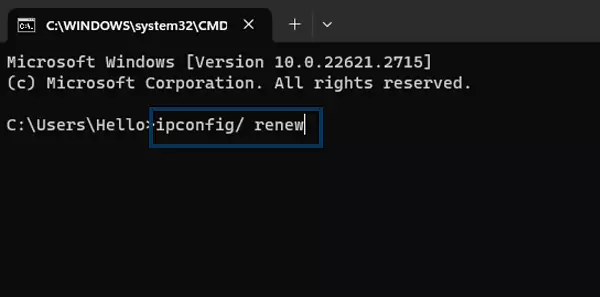
Windows:
- Open the Run Command Panel by pressing the Windows Key + R, type cmd in the search panel and hit Enter or OK.

- Once your Command Prompt panel opens, type “ipconfig/ release” and press enter to release your IP address.
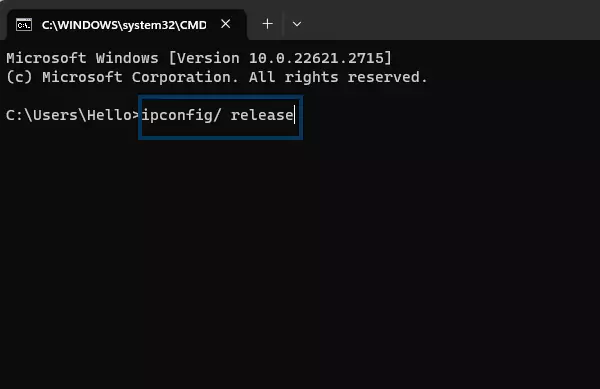
- The last step is providing the prompt “ipconfig/ renew”. This prompt will instantly assign a new IP address to your computer.
3. Change DNS Server
Another thing that users can try is changing their DNS servers. Although these servers are automatically assigned by the ISP (Internet Service Provider), you can also change them as you prefer. Changing your DNS server can also fix the DNS_PROBE_FINISHED_NXDOMAIN error. For assistance, you can use the Google public DNS server (8.8.8.8 and 8.8.4.4) or Cloudflare.
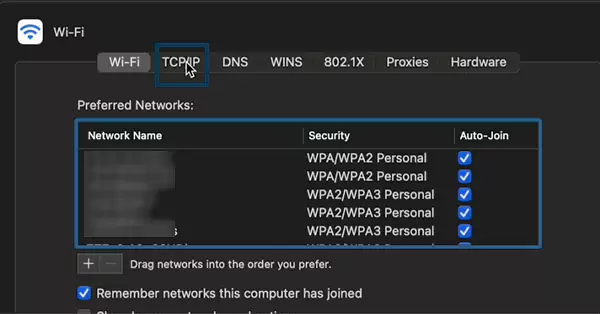
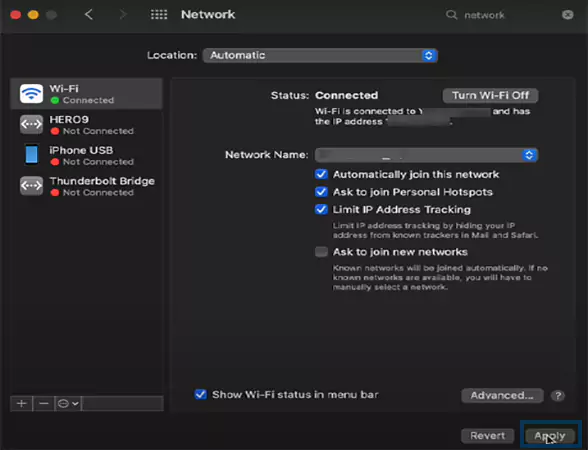
Mac:
- Click on the Apple menu and go to the System Preference.
- Now open the network and go to advanced settings.
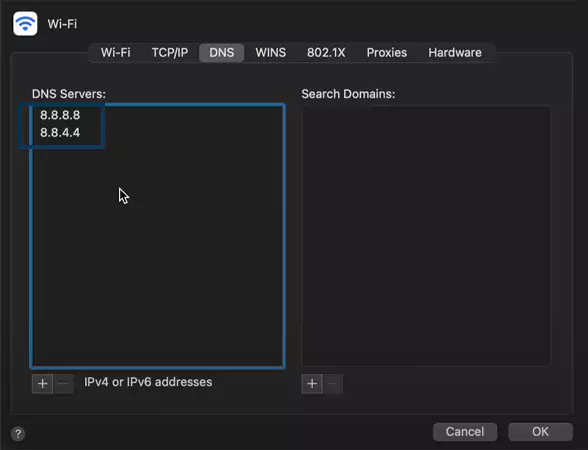
- Click on the plus “+” option of DNS servers.
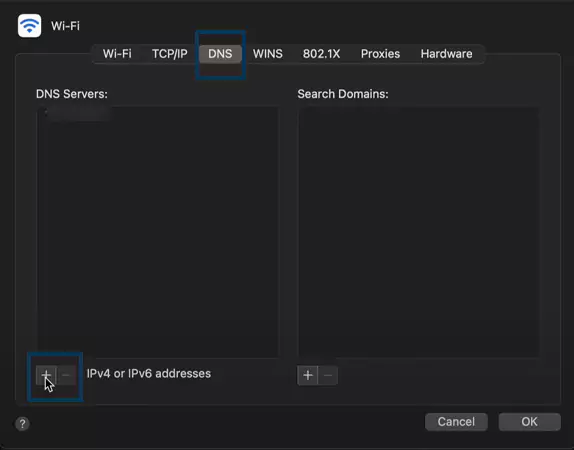
- Lastly, add the following DNS codes and click Apply to implement them.
- 8.8.8.8
- 8.4.4.8
Windows:
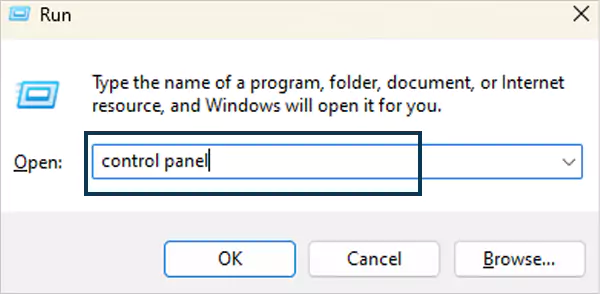
- Open the Run Command Prompt, enter Control Panel and hit Enter key.
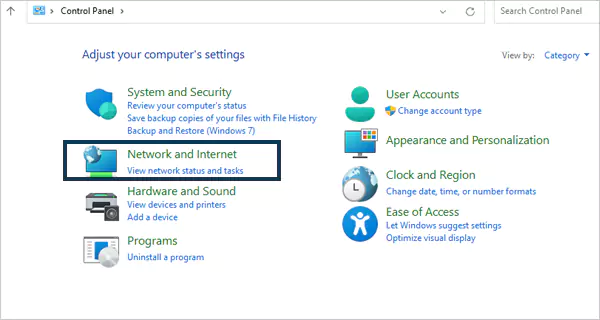
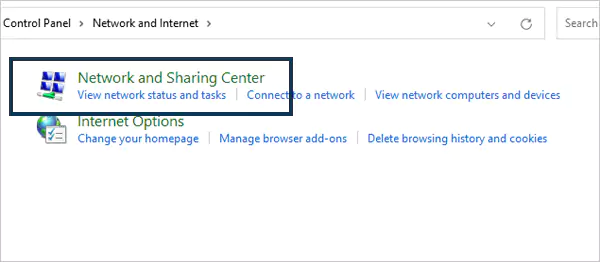
- Click on Network and Internet, followed by Network and Sharing Center.
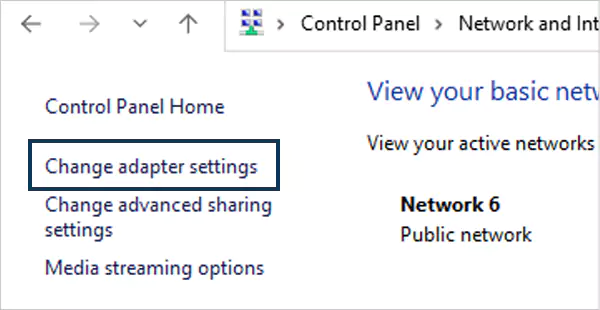
- Now click the option Change Adapter Settings on the left side of the panel.
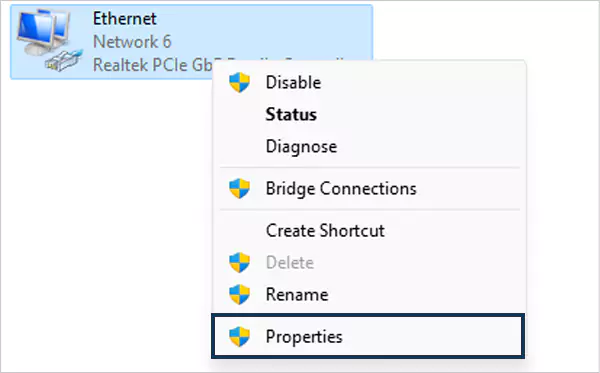
- Right-click on your network connection and go to the properties.
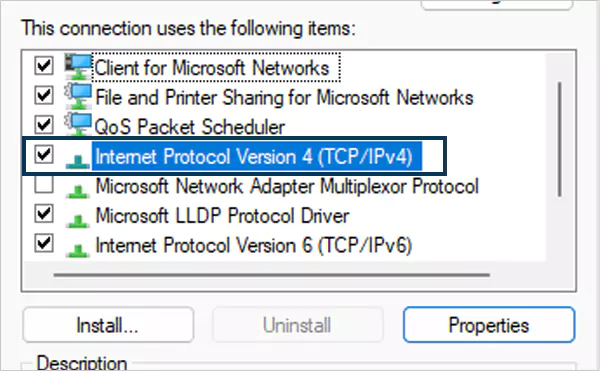
- Now, click on Internet Protocol version 4, followed by clicking on properties.
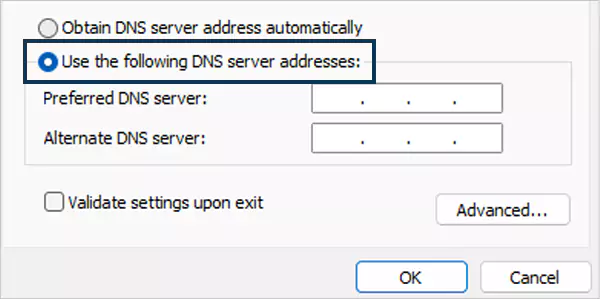
- Click on “Use the following DNS server addresses, and enter
- 1.1.1.1 and 1.0.0.1 for IPv4
- 2606:4700:4700::1111 and 2606:4700:4700::1001 for IPv6
4. Restart DNS Client Service
Try restarting the DNS Client service or local DNS resolver of your computer. This queries the DNS cache of your computer and resolves any issue available. These are the steps to restart the DNS client server:
- Open the Command Prompt by pressing the Windows key + R.
- Now, type “services.msc” and click OK.
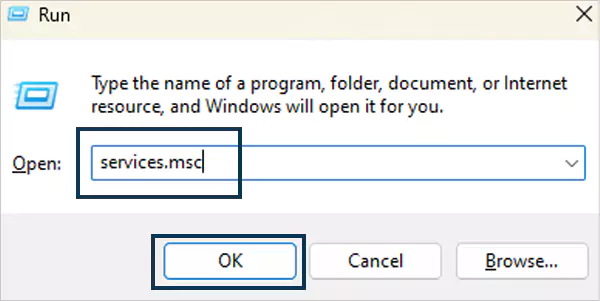
- Locate “DNS Client.” Right-click on it and select Restart.
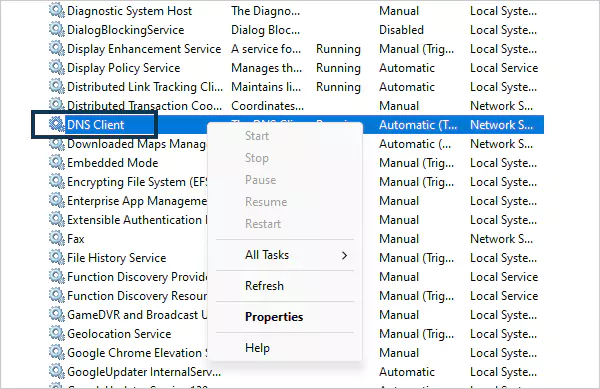
If the DNS client’s restart option is grayed, as shown in the picture, try the following step to restart your DNS client:
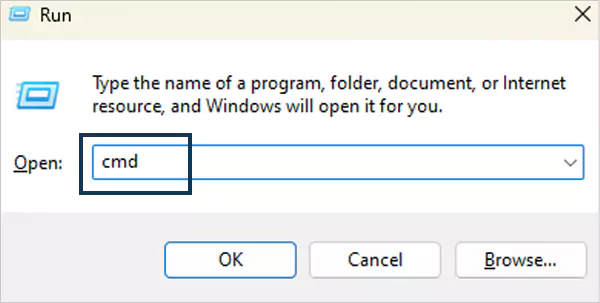
- Open the Command Prompt panel of your computer and type cmd.
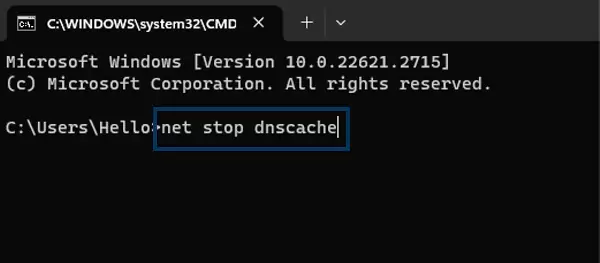
- After the Command Prompt Panel is opened, enter “net stop dnscache” to stop the DNS service.
- Once the output of the “net stop dnscache” appears on the panel, give it another prompt, “net start dnscache,” to start the DNS client service again.
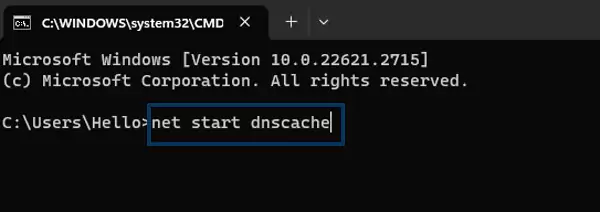
This will also work to restart the DNS client service of your computer.
5. Clearing Local DNS Cache
Clearing the cache of local DNS can also solve the DNS_PROBE_FINISHED_NXDOMAIN error. Here are the steps to take:
- Go to the spotlight search or search bar and open the terminal.
- Enter the command “sudo dscacheutil -flushcache;sudo killall -HUP mDNSResponder” and press enter.
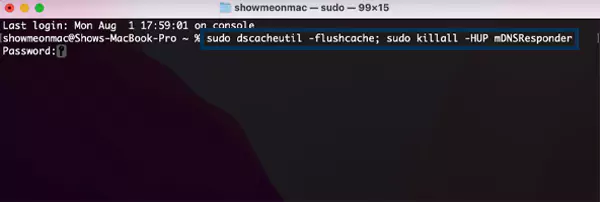
It will automatically clear all the cache of your local DNS.
Windows:
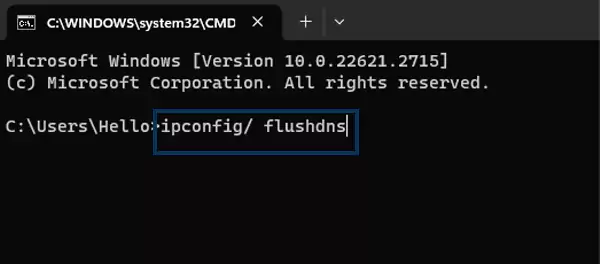
- Open the Run Command Panel by pressing the Windows key + R and typing cmd.
- Now enter “ipconfig/ flushdns” to clear all the cache of your local DNS network.
Users can also flush their local DNS cache by simply disabling their network adapter and enabling it after 5–6 minutes.
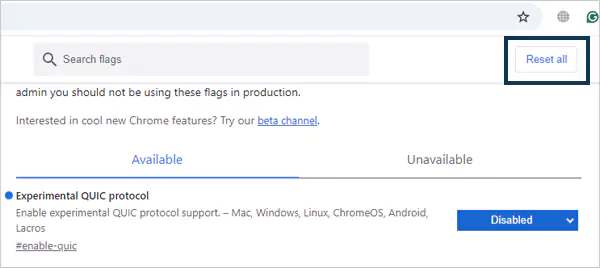
6. Reset Chrome Flags
Google Chrome flags are the hidden flags that allow users to enable or disable browser services and behavior. Enabling the flag mistakenly can also be an active cause of the DNS_PROBE_FINISHED_NXDOMAIN error. Follow these instructions to fix the misconfigurations in the Chrome flags.
- Open Google Chrome on your desktop.
- Type “chrome://flags” in the search bar.
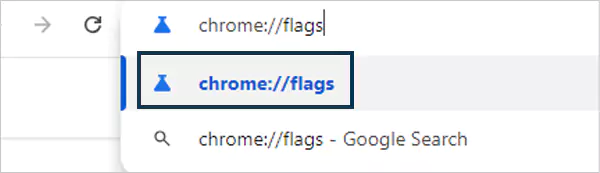
- After the Chrome flag settings are opened, click the reset all option in the top right corner. It will reset all the settings to default.
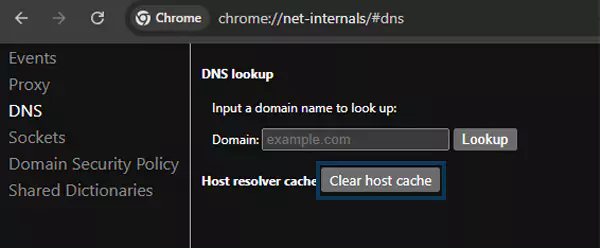
7. Delete Chrome DNS Cache
The DNS_PROBE_FINISHED_NXDOMAIN error can also be caused by not clearing the DNS cache of your browser for a long period. Therefore, it is advised to clear the DNS cache of the browser at regular intervals of time. Do the following to clear the Chrome DNS cache:
- Open the Chrome browser on your desktop.
- Now, type “chrome://net-internals/#dns” in the search bar. It will direct you to the internal settings page of your Chrome.
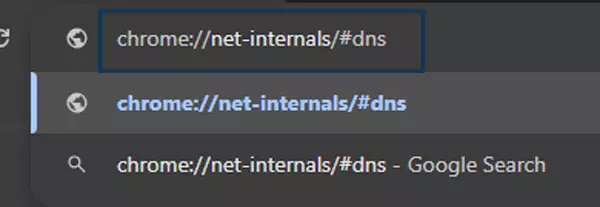
- Click on the “Clear host cache” option.
8. Turn Off VPN & Antivirus
Sometimes VPN and antivirus software can also cause the DNS_PROBE_FINISHED_NXDOMAIN error. These software programs conceal visiting some domains and pages of domains to safeguard the identity and privacy of the user from suspicious activities. If you are sure about the security of the URL you can’t reach, try to temporarily disable your VPN or antivirus software programs.
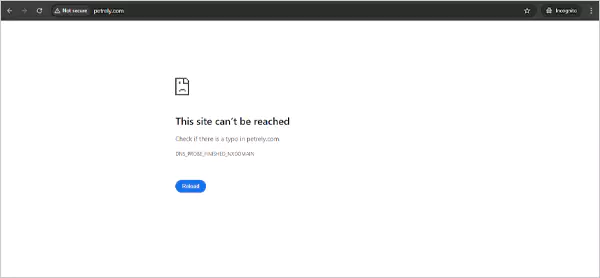
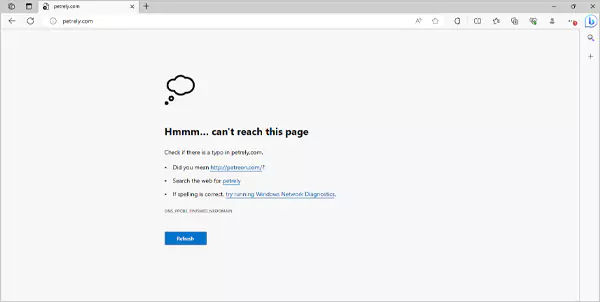
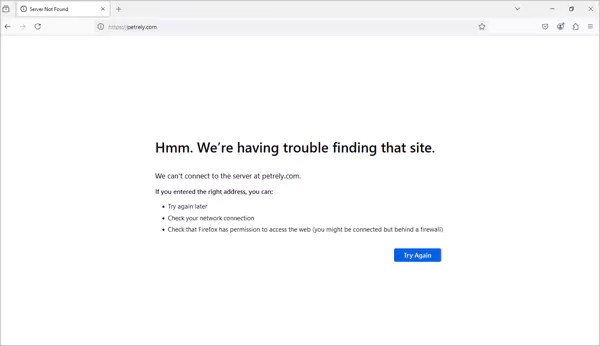
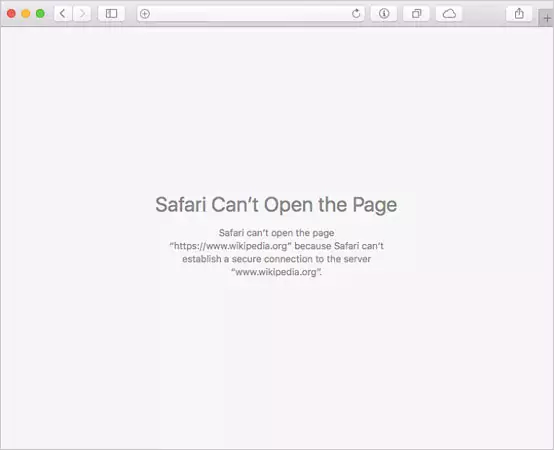
DNS_PROBE_FINISHED_NXDOMAIN Error Look on Other Browsers
This section shows how the DNS_PROBE_FINISHED_NXDOMAIN error displays in different browsers.
Google Chrome:
Microsoft Edge:
Mozilla Firefox:
Safari:
Wrapping Up
The DNS_PROBE_FINISHED_NXDOMAIN error can be very annoying sometimes, and several reasons like typos, DNS misconfiguration, ISP issues, etc. can trigger it. Employing a combination of the above methods can be effective in resolving this issue for sure.
Frequently Asked Questions
- Open the control panel.
- Click on Network and Internet, followed by Network and Sharing Center.
- Click on your internet connection.
- Navigate and open the properties of the network.
- Choose Internet Protocol Version 4.
- Now click on properties, followed by choosing “Use the following DNS server addresses.”
- Enter “8888” in the preferred DNS server and “8844” in the alternate DNS server.
- Save the changes and restart Windows.
- Malicious and inappropriate content
- Infected sites
- Antipiracy
- Open settings
- Tap Network & Security > Advanced > Private DNS
- Set the hostname of your private DNS and save.
Sources –